


Indoor Native Seed Stratification
Indoor Native Seed Stratification
by Ryan Godfrey
You may have just received your first packet of native plant seeds, or you have participated in the Seed-ex with NANPS, or you have just harvested some seed from your garden or (under appropriate and legal conditions) wild plants in their native habitat. Now what?! Unlike most species from the tropics or cultivated annual plants/crops, plants native to temperate regions of the planet (including most of North America) will often not germinate if you simply stick them in the ground or in a pot with soil, water them and leave them to their own devices.
Temperate plant species have evolved in an environment that has a periodicity to the year that we call The Seasons. It can be deadly for seeds to germinate in the middle of winter, so they have developed strategies for synchronizing germination to coincide with Spring. If you sow your seeds outdoors in the late fall/early winter, these mechanisms will occur on their own and I have personally had quite good success with a variety of species using this method. However, figuring out “who is who?” of the seedlings in the springtime can be quite a puzzle, albeit a fun one for an inquisitive botanist to solve. Seed predation by birds, mammals, or insects can also be a problem with this method. You could use labels, pots, or trays to ameliorate these issues, but there is a much more systematic approach that occurs indoors and can be started at any time of year.
Stratification is basically the simulation of the conditions of winter-becoming-spring. By “tricking” the seeds into “thinking” that it is springtime, it is possible to get many temperate plant seeds to germinate whenever you want and where you can see it happening.
Materials:
Seeds
Paper Towel
Plastic zip-top bags
Labels
Water
Refrigerator
Thermometer (optional)
Luckily, most kitchens come equipped with a winter-simulator that we call The Fridge. Most home refrigerators are kept between 1ºC – 4ºC, which is ideal for stratification. You can use a thermometer to double check this (it’s always good to take a measurement!) but not necessary.
For wet-stratification (which has been a good strategy for me), simply follow these steps:
1. Place seeds on a clean, moistened paper-towel.
2. Fold paper towel over and place it inside of a zip-top bag or other air-tight container.
3. Close the bag and leave it in the refrigerator undisturbed for a minimum of 6 weeks.
After that time, you can remove the seeds or leave them: they are in a kind of “suspended animation” at this point and can remain here for quite a while (months, at least) and no action is required. When you are ready to begin germinating, remove the bag but do not open it; let the seeds come to room temperature over ~ 24hours and then immediately transfer them into pots/propagators or whatever your usual germination set up might be. From here, you can treat them just the same as annual/crop seeds.
Some tips:
1. Place seeds only on the paper towel – Some seed packets will include “chaff”: material like dried flower parts, fruit parts etc. Putting this in your stratification set-up will only increase the chances of having mould grow.
2. Do a bit of research first – Simply googling “scientific name of species + stratification” will often bring up papers where botanists have discovered ways to improve germination rates for a specific species. This can sometimes include treatments called “scarification” that can mean that you should boil, crack, cut or do something else to your seeds before or after the cold treatment.
3. Try to be sterile – Reduce the amount of time the paper towel is exposed to the air. Also, use clean water to moisten the paper towel. Laboratory conditions would be best, but we make do with what we have.
4. Label you work – It is always best to label the species (common and scientific names preferred) as well as the date you began the cold treatment. I put this information directly on the bag. If you put more than one type of seed in the same bag, indicate the location of each species.
5. Cut out fungus as soon as you see it – I like to check on my seeds every so often. I don’t take them out of the fridge for too long, but just peek in: since the bag and wet paper-towel should be translucent, you should be able to see the seeds. If there is a circle of brown/yellow stain around some seeds, that is OK, but if you see anything blue or grey or fuzzy, get it out of there ASAP. You can cut the mouldy paper out and replace what’s left in a new, clean bag, but if it happens again or has grown too much, it may be time to start over.
Indoor stratification is easy do to and an important step in germinating seeds of many temperate plant species. Even those species that do not require stratification to germinate often have higher germination rates after a cold treatment. The main challenge, fungus, is a surmountable obstacle, and with a little bit of trial-and error, you’ll be an expert in no time.
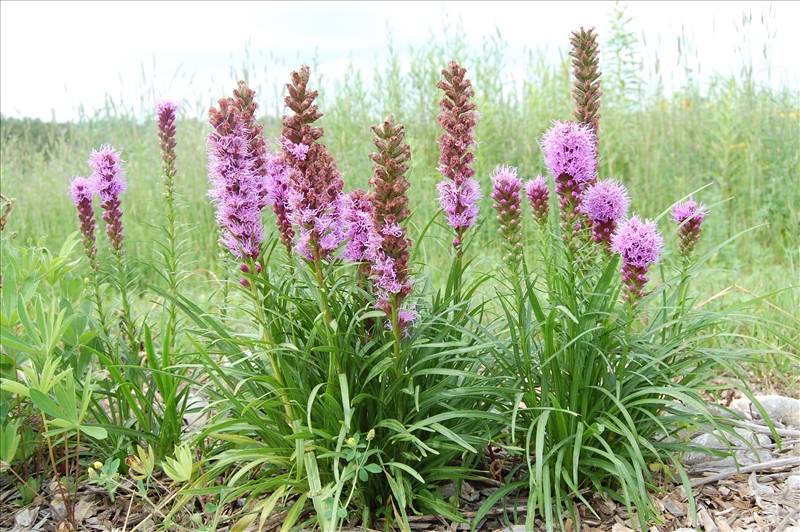
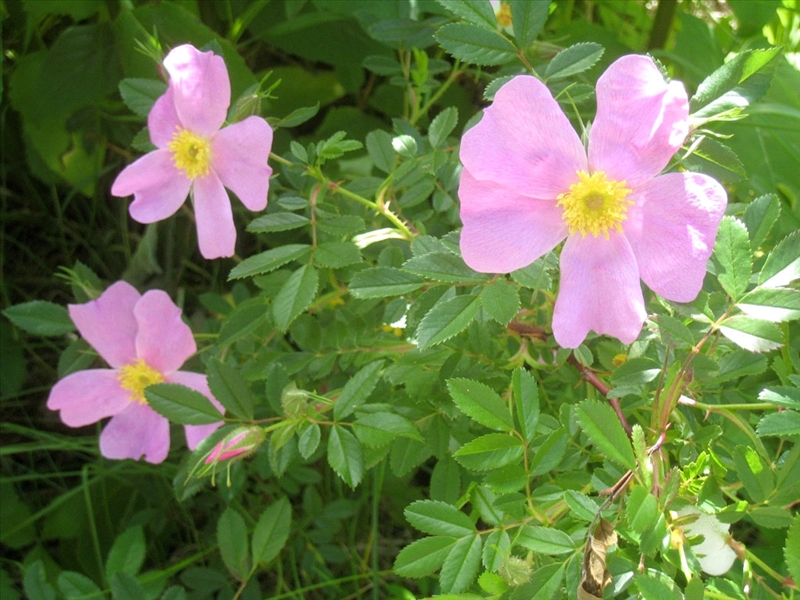
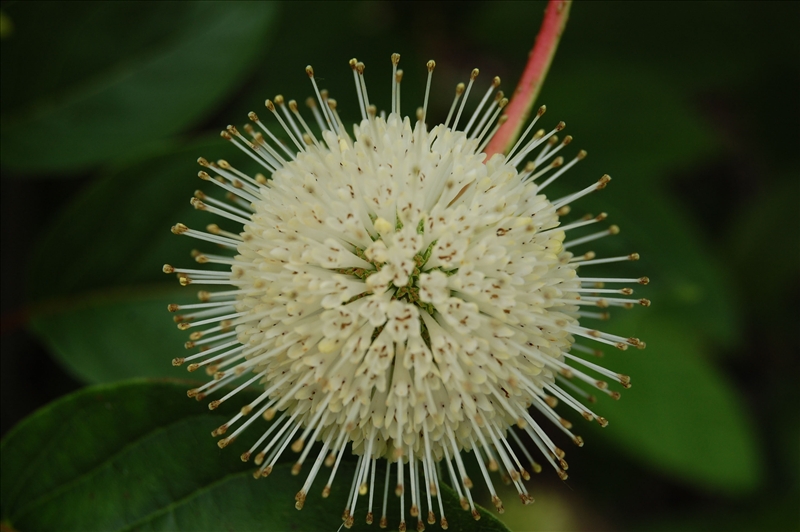
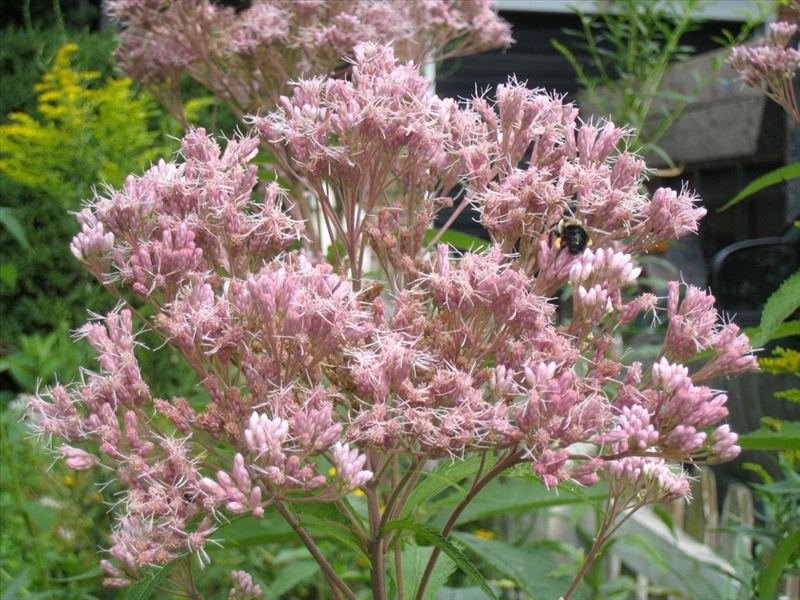
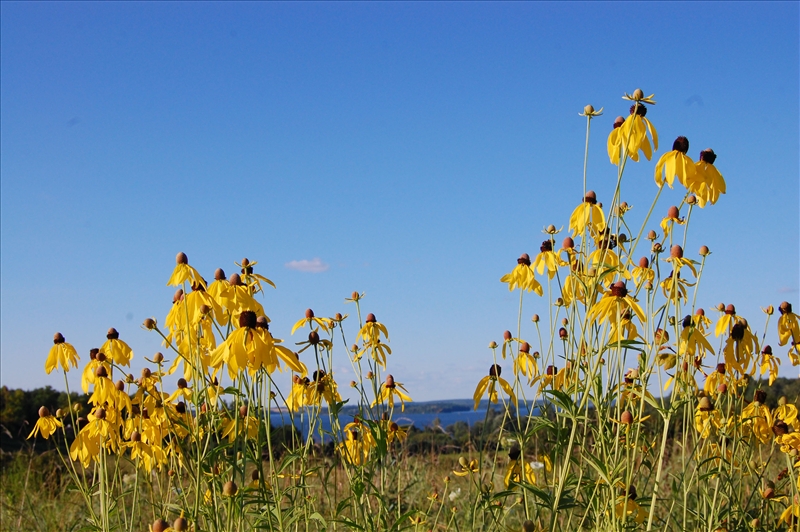
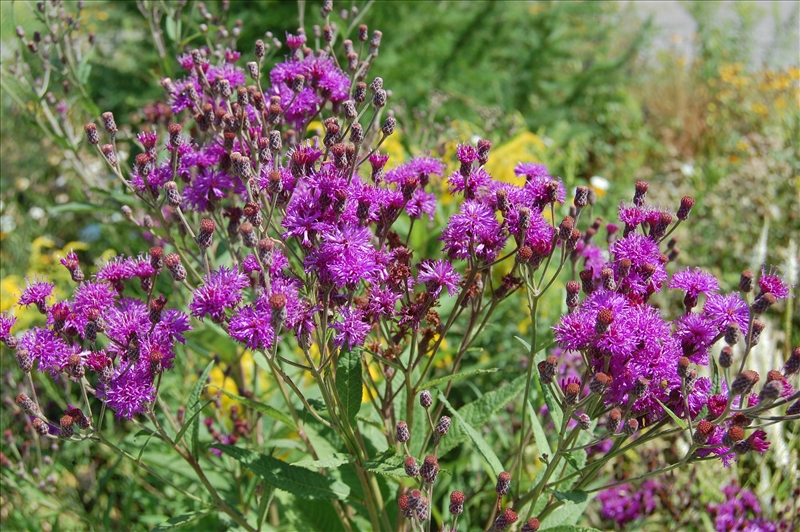
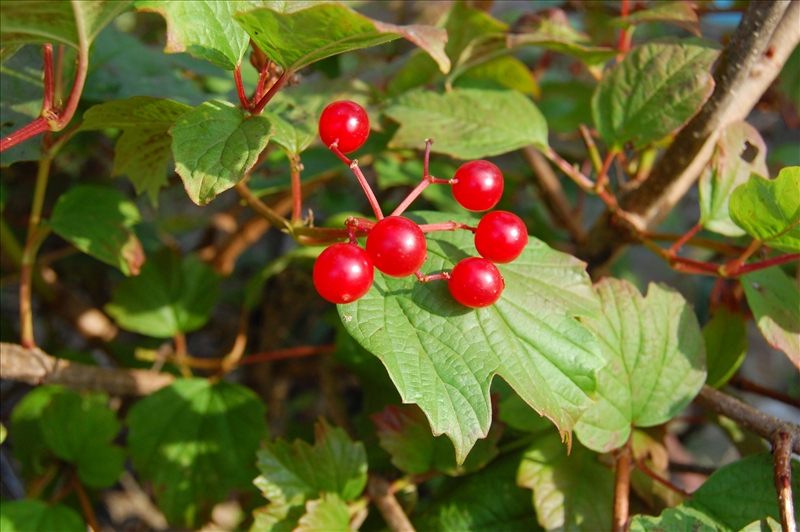
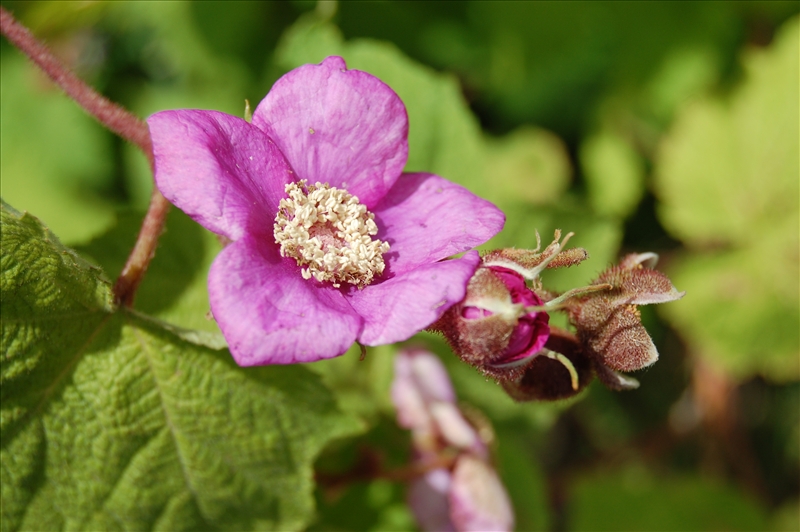
Favourite Wildflowers and Shrubs

Recent Initiatives


Volunteering
 NANPS is a volunteer-operated organization. Virtually everything we achieve is through the efforts of volunteers. The more assistance offered by our members, the more we can accomplish together. If you have some time to give...even just occasionally...you can help. Read More...
NANPS Seed Exchange
 The 2023 - 2024 Seedex list is available for viewing at Native Plant Seed Exchange!
The NANPS Seed Exchange is open to all members across the continent and relies on your participation. If you are not yet a member, you may join online now or include your membership form with your seed request....Read More
The 2023 - 2024 Seedex list is available for viewing at Native Plant Seed Exchange!
The NANPS Seed Exchange is open to all members across the continent and relies on your participation. If you are not yet a member, you may join online now or include your membership form with your seed request....Read More